
Table of Contents
- The Sovereign Home Network: Eliminating Telemetry & Network-Wide Ad Creep
- Hardware Selection: Raspberry Pi 4/5 vs Mini PC vs Docker Container
- Installing & Configuring Pi-hole: DNS Sinkholing, Blocklists & Unbound DNS
- Deploying WireGuard VPN: High-Throughput Modern Tunneling with PiVPN
- Dynamic DNS (DDNS) & Port Forwarding Without Breaking Security
- Configuring Mobile Devices: Encrypted DNS & Remote Ad-Blocking on Public Wi-Fi
- Troubleshooting False Positives: Whitelisting Streaming Services & Smart TVs
- Comparison Table: DNS Sinkhole & VPN Solutions Compared
- Frequently Asked Questions
The Sovereign Home Network: Eliminating Telemetry & Network-Wide Ad Creep

In the modern smart home ecosystem, the average household contains between 25 and 60 internet-connected devices: smartphones, laptops, smart televisions, streaming sticks, gaming consoles, robotic vacuums, smart thermostats, and voice assistants. While browser extensions like uBlock Origin provide excellent ad-blocking protection on desktop Chrome or Firefox, they cannot protect smart TVs from transmitting behavioral viewing analytics back to manufacturers, nor can they block intrusive mobile ads embedded inside iPhone and Android games or streaming apps.
To reclaim privacy, speed up home internet bandwidth, and eliminate surveillance telemetry across 100% of your household devices, network engineers deploy a DNS Sinkhole—most famously implemented via the open-source software Pi-hole.
By routing all home internet DNS queries through a local low-power server, Pi-hole inspects every outbound domain request. If a smart TV or mobile app attempts to connect to known advertising, analytics, or malware domains (e.g., tracking beacons or telemetry servers), Pi-hole instantly blocks the request at the local network level before the ad can ever download. When paired with a secure WireGuard VPN server, you extend this network-wide ad-blocking and private home encryption to your mobile phone wherever you travel in the world. In this tutorial, we guide you through the complete deployment workflow.
Hardware Selection: Raspberry Pi 4/5 vs Mini PC vs Docker Container
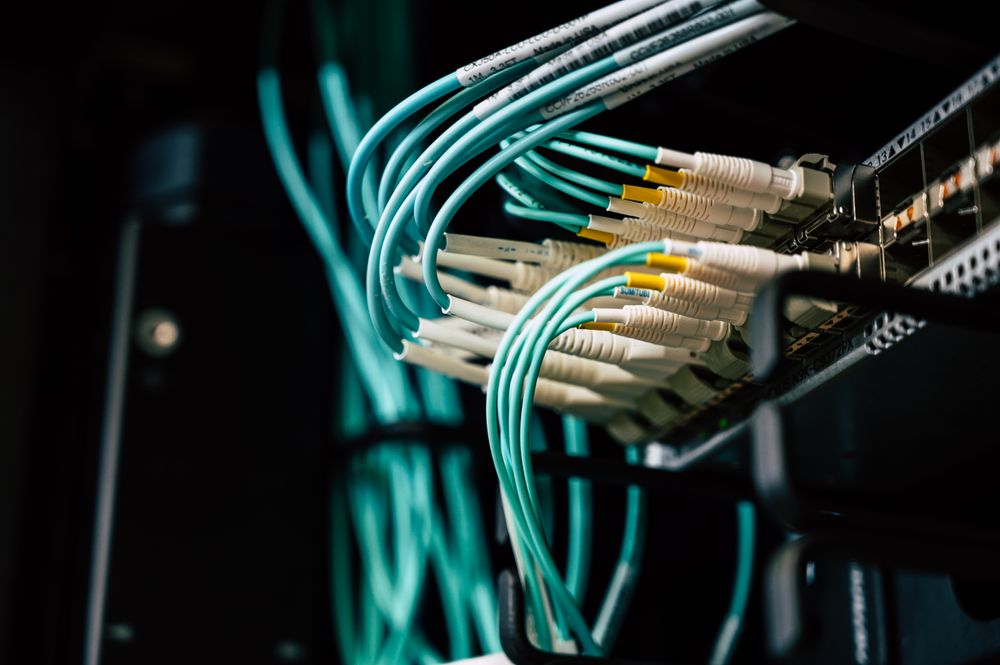
Pi-hole is remarkably lightweight and can run on virtually any 24/7 computing hardware:
Hardware Options Evaluated
- Raspberry Pi (Zero 2 W, 3B+, 4, or 5): The classic choice. A Raspberry Pi consumes less than 3 to 5 watts of electricity (costing less than $5 per year in electricity), features zero fan noise, and connects directly to your home router via Gigabit Ethernet.
- Repurposed Mini PC (Intel N100 / Lenovo ThinkCentre Tiny): Readily available on eBay for $80 to $120. Provides vastly superior computing headroom, NVMe storage reliability, and allows you to run multiple Docker containers alongside Pi-hole (such as Home Assistant, Plex, and Nextcloud).
- Virtual Machine / Docker Container on Existing NAS: If you already own a Synology NAS, QNAP, or TrueNAS storage server, you can deploy Pi-hole as an official Docker container in under 5 minutes with zero hardware expenditure.
Installing & Configuring Pi-hole: DNS Sinkholing, Blocklists & Unbound DNS
The automated installation of Pi-hole on Debian or Raspberry Pi OS takes under ten minutes:
1. Automated CLI Installation
Open your server terminal and execute the official installation script:
curl -sSL https://install.pi-hole.net | bashFollow the interactive on-screen prompts to assign your server a static IPv4 address and select your upstream DNS provider (such as Cloudflare 1.1.1.1 or Quad9 9.9.9.9).
2. Integrating Unbound for True Recursive DNS Sovereignty
Rather than sending your DNS queries to commercial third-party providers like Google or Cloudflare, configure Unbound directly on your Raspberry Pi. Unbound operates as a full recursive DNS resolver, communicating directly with the global root DNS nameservers. This ensures no third-party internet service provider or tech conglomerate can log your browsing history or censor domains.
Deploying WireGuard VPN: High-Throughput Modern Tunneling with PiVPN

Traditional VPN protocols like OpenVPN are notoriously heavy, complex to configure, and consume significant battery life on mobile devices. WireGuard has replaced legacy protocols, offering blazing-fast cryptographic handshake speeds, state-of-the-art cryptography (Noise protocol, Curve25519, ChaCha20), and seamless roaming between Wi-Fi and mobile 5G connections without disconnecting.
Automated Deployment via PiVPN
Install WireGuard instantly using the open-source PiVPN utility:
curl -L https://install.pivpn.io | bashSelect WireGuard when prompted. PiVPN automatically generates server encryption keys, configures firewall iptables forwarding rules, and configures Pi-hole as your primary VPN DNS resolver, ensuring your mobile phone receives full ad-blocking and private encrypted tunneling even when connected to untrusted hotel or airport Wi-Fi networks.
Dynamic DNS (DDNS) & Port Forwarding Without Breaking Security

Because residential internet service providers assign dynamic public IP addresses that change periodically, you need a method to locate your home network from the outside world:
1. Setting Up Dynamic DNS (DDNS)
Register a free hostname with providers like DuckDNS or configure a custom domain using Cloudflare’s free DNS API. Install a lightweight cron script on your Raspberry Pi that pings your DDNS provider every 15 minutes, automatically updating your hostname whenever your home IP changes.
2. Opening a Single Secure WireGuard UDP Port
Log into your home router’s administrative dashboard. Navigate to Port Forwarding and forward a single UDP port (default: 51820 UDP) to your Raspberry Pi’s local static IP address. WireGuard is designed to be completely silent: it does not respond to port scanners or unauthenticated ping requests, preventing automated hackers from discovering your open port.
Configuring Mobile Devices: Encrypted DNS & Remote Ad-Blocking on Public Wi-Fi

Connecting your iPhone, Android, or laptop to your home VPN takes less than 60 seconds:
Client Setup Workflow
- On your Raspberry Pi server, generate a new client profile by typing:
pivpn -aand naming your client (e.g., iPhone-Nomad). - Display the profile as an on-screen QR code by running:
pivpn -qr. - Install the official free WireGuard App from the Apple App Store or Google Play Store. Open the app, select ‘Add a Tunnel’, scan the QR code displayed on your terminal screen, and name the connection.
- Toggle the VPN connection on. Your phone is now instantly tunneled through your home network, blocking ads globally and encrypting all traffic over untrusted cellular or public coffee shop Wi-Fi networks.
Troubleshooting False Positives: Whitelisting Streaming Services & Smart TVs
Because comprehensive ad-blocking blocklists contain over 300,000 domains, occasional ‘false positives’ occur where legitimate services or streaming video apps (like Hulu, Disney+, or affiliate shopping links) fail to load:
The Remediation Toolkit
- Inspecting the Pi-hole Query Log: Navigate to your Pi-hole web dashboard (
http://pi.hole/admin). Filter the Query Log by ‘Blocked’ domains in real time while attempting to open the problematic app. - One-Click Whitelisting: Locate the exact blocked domain causing the playback error and click the green ‘Whitelist’ button. Pi-hole immediately updates its in-memory cache, restoring functionality across the network within seconds.
- Exempting Sensitive Smart Devices: Use Pi-hole’s Group Management feature to place smart appliances or employer-managed corporate laptops into an unblocked group while maintaining strict ad-blocking across personal computers.
Comparison Table: DNS Sinkhole & VPN Solutions Compared
| Solution | Hardware Required | Ad-Blocking Scope | Remote Mobile Protection | Setup Complexity |
|---|---|---|---|---|
| Pi-hole + WireGuard | Local Raspberry Pi or Mini PC | 100% Network-Wide (All IoT & TVs) | Yes (Via WireGuard mobile tunnel) | Moderate (CLI installation) |
| AdGuard Home | Raspberry Pi or Docker | 100% Network-Wide (Native DoH/DoT) | Yes (Built-in encrypted DNS client) | Moderate (Polished web GUI) |
| Commercial VPN (Nord/Mullvad) | None (Cloud Subscription) | Device-by-device only | Yes (Commercial mobile apps) | Very Low ($5 – $12/month recurring) |
| NextDNS (Cloud Sinkhole) | None (Cloud-managed service) | Device or router level | Yes (Native Apple/Android profiles) | Low (Free up to 300k queries/mo) |
Frequently Asked Questions
Editorial Disclosure: TechSide AI delivers rigorous, independent technology evaluations, financial analyses, and hardware benchmarks. We may earn affiliate commissions from financial or software products purchased through links on our site. This never compromises our scoring methodology, financial modeling, or editorial independence.